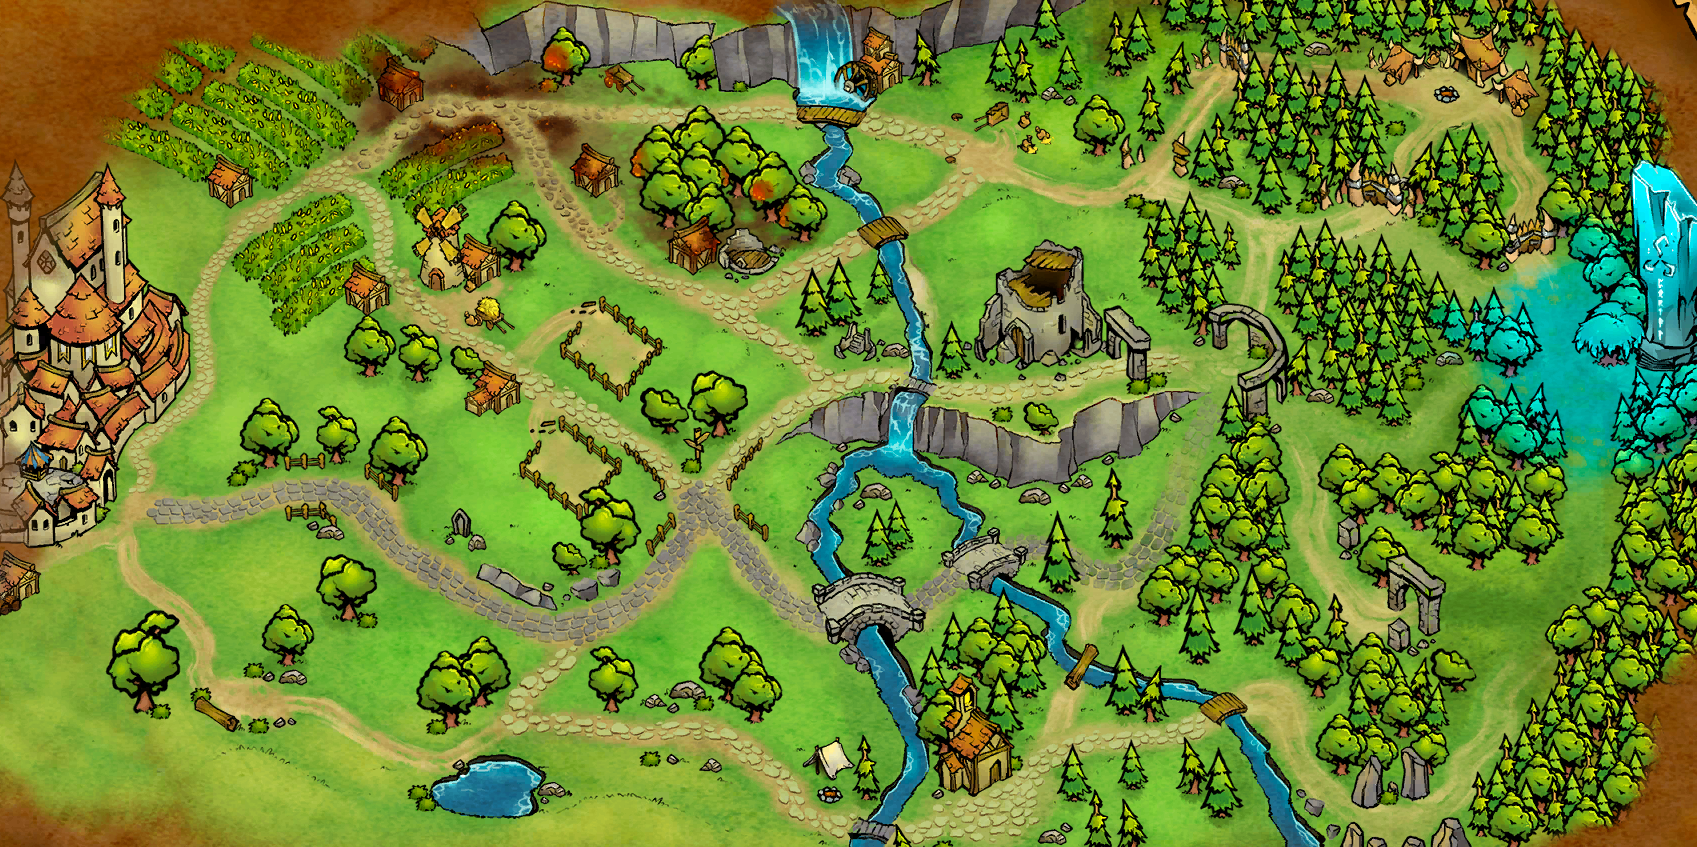
Act 1
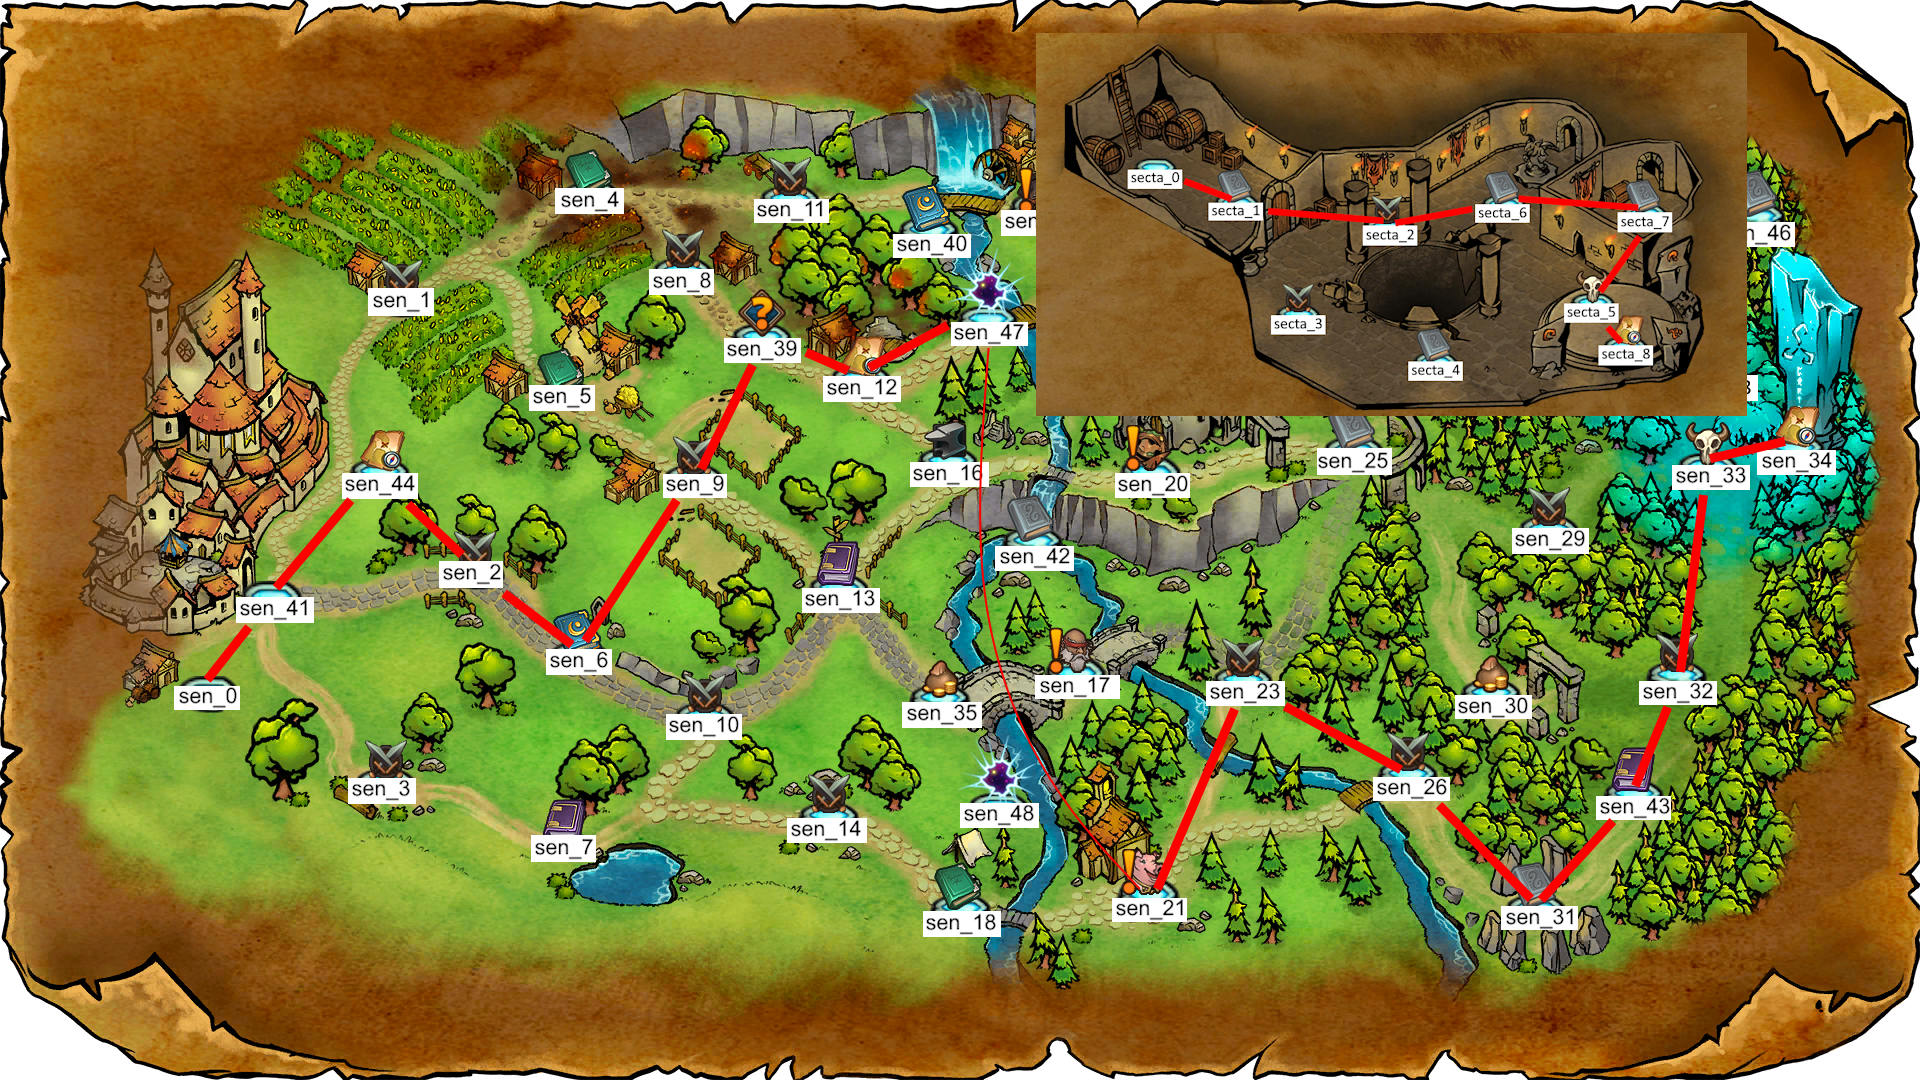
-
Welcome to the run! There are a few things before we get started.
There is a skill check for 6 and one for 7 during this act. It is sometimes worth keeping a few expensive cards in the decks simply to hit these events.
Most combats here need to be turn 1’d for max score. There’s no shame in resetting a run because things just got a little unlucky, or the divinations didn’t provide. Act 1 is where I spend the most time.
You can check the caravan shop by save stating in this town, then leaving, and taking a screenshot of the caravan shop. Remember the prices will be adjusted by Mimy!
Make plenty of save states during the deck building process, so you can come back to the town and make minor tweaks as needed.
Don’t forget you can tweak your perks in this town too. Sometimes rng dictates that we will not be able to construct a cohesive gameplan in a1, and things need to change. Be flexible!
-
This node provides score simply by entering it. You do not need to purchase anything.
-
This is the first combat of the run. Make sure you turn 1 kill.
-
This node gives an extra [Combat] and begins the Betty questline leading us towards the hatch.
-
This is the first corruptor fight of the run. Good luck.
-
On this node we want to [Extort] but critically fail. This will hurt us with a wound, but will give us an extra combat, which is necessary to achieve max score. This is also the first node we might need to do Event Manipulating. The wolf that is spawned mid combat is not worth extra Experience.
If you do not want the wound in all 4 decks, you can skip this combat, but it is a score loss. This is common practise for people who are new and or learning, the Low Self Esteem’s can be massively crippling.
-
Enter the hatch in whatever way is most convenient. All the XP from here will get clamped away on account of it being act 1, so feel free to take the wounds if you feel like its correct.
-
[Combat] is always correct here. Any other options are either worth less XP, or dodge the combat entirely.
-
A brutally hard Corruptor fight. Most runs end here. Remember to turn 1.
-
On this event we want to fail but not critically fail the [Examine] (4-7). This will open the door to the secret room and give us a combat. Best of both worlds.
-
Pick someone to drink the potion. Or roll the dice. Personally, I find the one extra energy is extremely significant on our forest crown hero.
-
[Combat] with a side of [Combat] to serve. Don’t over think it.
-
Fight the rift enemies. If you have Amelia, youll get a little more XP, but this will usually get clamped away. Take the rift down to the chapel.
-
Free items if you [accept]. No point declining.
If you bring Magnus or Sigrun, thier unique interaction is worth more than [Accept]
If you bring yogger here, the same applies, just scare the lil piggy and get the free loot
If you bring Otis here, there are some interesting choices. With any other healer you can get a copy of atonement. Otherwise take Otis’ unique interaction for extra XP, shards and loot.
If you brought Yogger AND Otis here (you monster) then [Enter] for best loot, unless you want the atonement.
-
Standard corruptor fight. We can turn 2 this point from now on and not lose any score!
-
Standard corruptor fight.
-
[Combat] for highest score. Every other choice removes enemies (less XP) or escapes the fight entirely (less score). Don’t forget your forest crown!
-
[Combat] is always correct here. Any other options are either worth less XP, or dodge the combat entirely.
-
Standard corruptor fight.
-
Boss time! [Lure] Removes an enemy from combat, so is never correct. [Ambush] is the best XP here. Crit does not give more XP.
Amelia’s UCI is also equal here.
Keep an eye out during the card rewards for any particularly high mana cost. We have a lot of challenging events ahead of us, and any card costing 4 or more will help us get through them.